Not too long ago, I posted a video on my YouTube channel of my Costa Rica Travel Journal Flip-Through. This video was sort of spur of the moment but it did two things for me.
First, it reignited my passion for creating these scrapbooks/travel journals.
And second, it inspired me to share more of my journaling with my audience.
If you’ve been on this blog before, you know that journaling is one of my core values and executions on my platform. I want to inspire my readers to be more intentional in their daily lives through simplicity, productivity, and writing.
Disclaimer: All of the views and opinions in this post are solely my own and are not sponsored. This post may include affiliate links, meaning I earn a commission through links at no cost to you.
So, for today’s post, I thought I would share some snippets from my travel journal so that you can gain some inspiration on how to recreate one of your own.
If you want to see the full flip-through, I encourage you to check out my YouTube channel where I have an entire video that documents my travels as well as other aspects of this flip-through.
The Journal
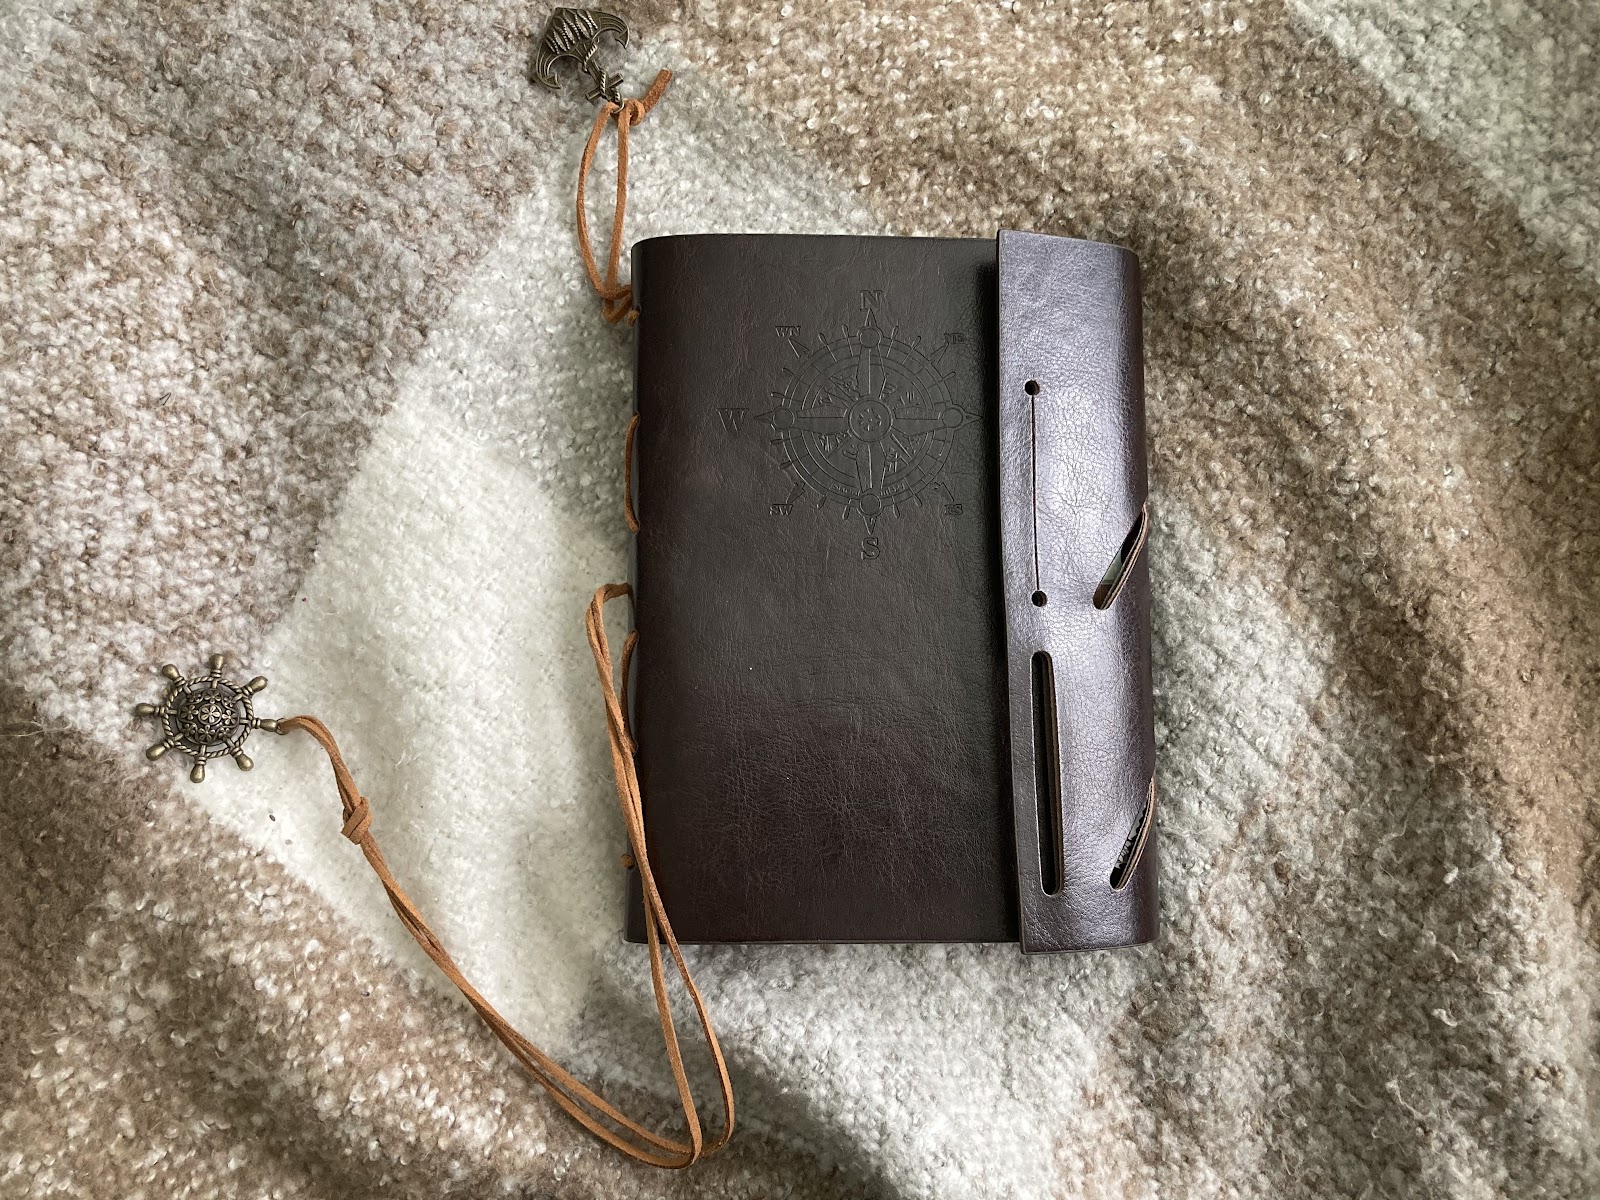
The journal I used can be found here if you’re interested in getting the same one I used. I like this journal for a few reasons.
First, the journal is made of faux leather which looks authentic, classic, and feels great. It has a “vibe” to it that I thoroughly enjoy. Additionally, it’s a smaller journal so it makes it ideal for travel.
Second, this journal comes with recoverable pages, making it a great journal for scrapbooking since you can take pages out when you create them. Furthermore, the journal includes rings on the inside to create unique inserts and extra pages. This feature also makes the journal refillable, meaning you can add as many pages as you want down the road.
I have a love-hate relationship with it (as I’m not a fan that it doesn’t lay flat). However, it is a good journal and I’m likely to purchase this same journal for my Grand Canyon/Route 66 travel journal.
First Spread
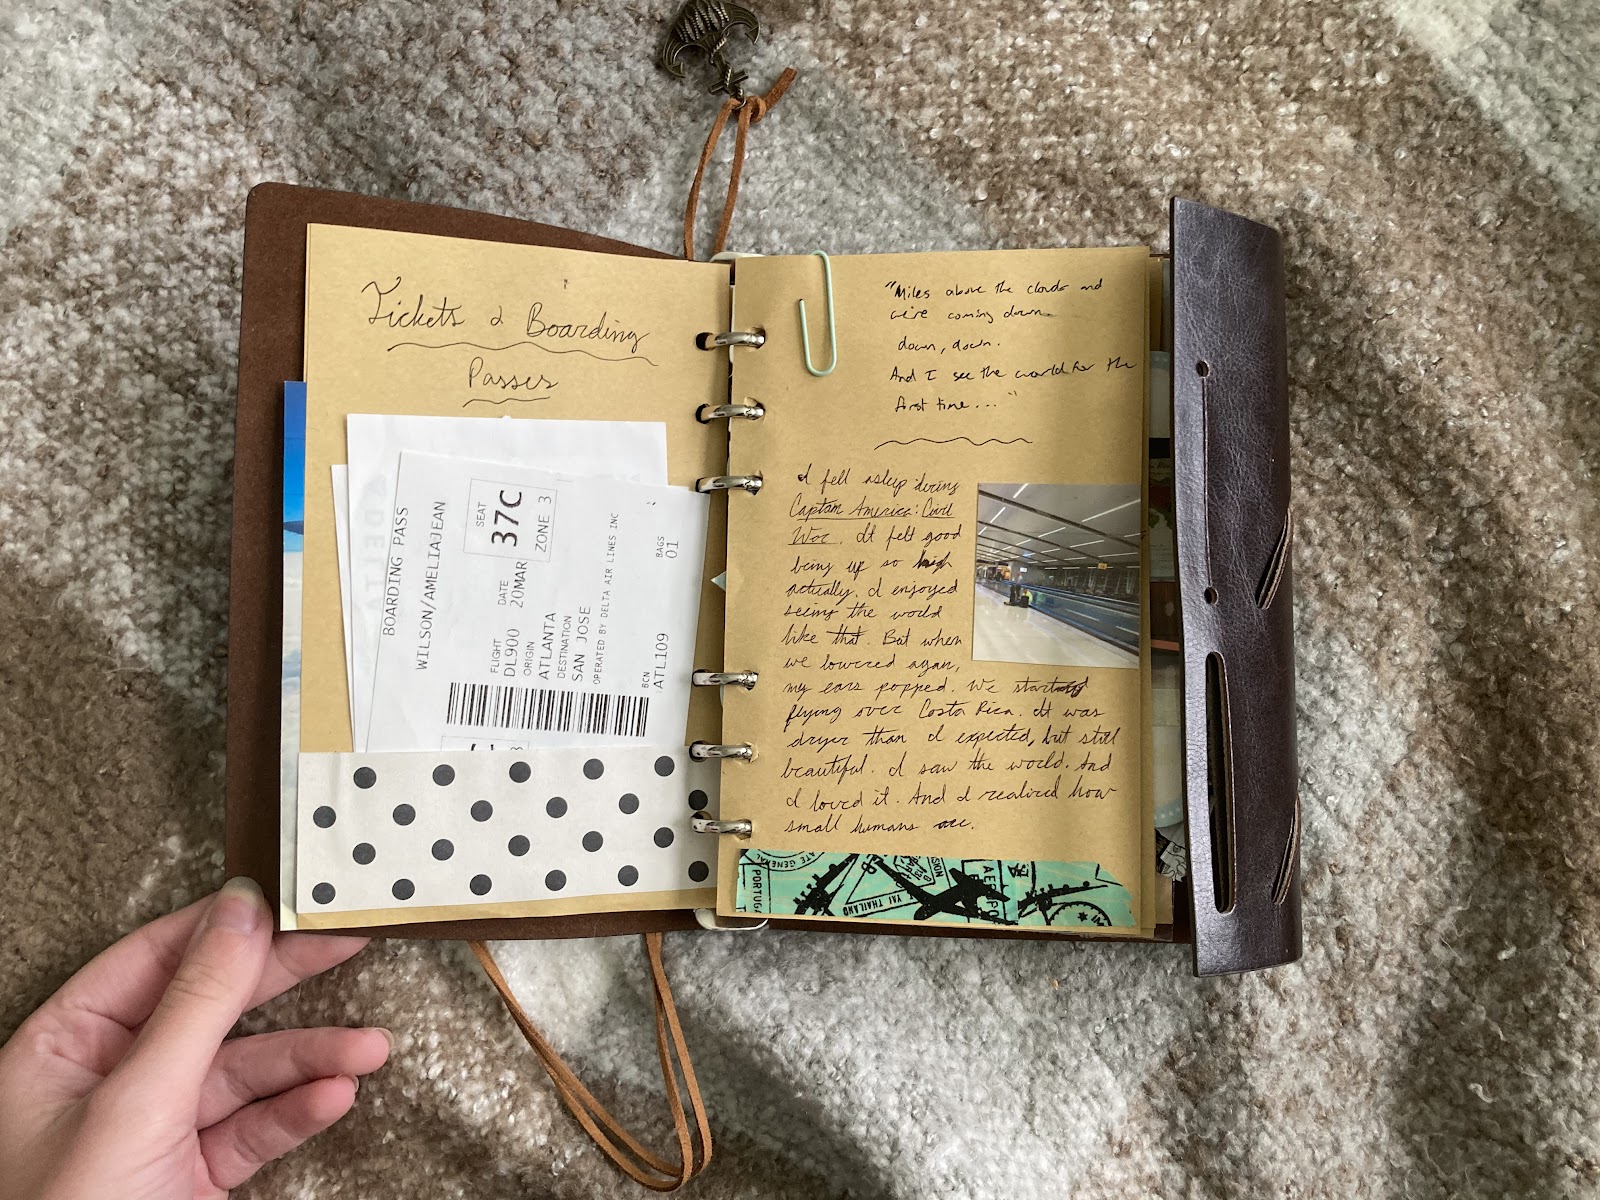
There is a title page as well as a spread that comes before this one. However, this spread is the first in my journal that I wanted to share on the blog. Again, if you want to view the full flip-through, definitely check out my video on YouTube.
Saving ticket
The first thing I want to point on this spread is the act of saving tickets and boarding passes. I saved my plane tickets, passes, and other vouchers in a way to preserve the memories of the trip.
When making your own travel journal, it’s important to save as many “tokens” as you can. Save postcards, tickets, passes, wristbands, contact cards, etc. Adding those little items adds interest to your journal. The more you save, the better!
Using a pocket
Another trick I implemented in this spread was the use of a pocket. This pocket was made by cutting a piece of paper to size and then gluing the edges (sides and bottom) to the journal paper.
Note: Let the glue dry before adding the contents that go inside to prevent them from sticking as well.
Pockets are another way to add interest to the spread. They also allow you to store multiple items/pieces of paper rather than gluing the items to the journal paper (which takes up more space).
Washi tape
The washi tape I used isn’t my favorite and at the time, it wouldn’t have been my first choice. However, I was seventeen and didn’t have a job so I used what I already had.
Washi tape is used A LOT in scrapbooking and journaling not only to hold things down (like photos or scrapbook paper), but also to add more depth, layering, and interest. We’ll go into this a bit later in the post. For now, I just wanted to point out that my us of washi tape here was to add some color and visual appeal to the bottom of the right side spread.
Washi tapes I like can be found here!
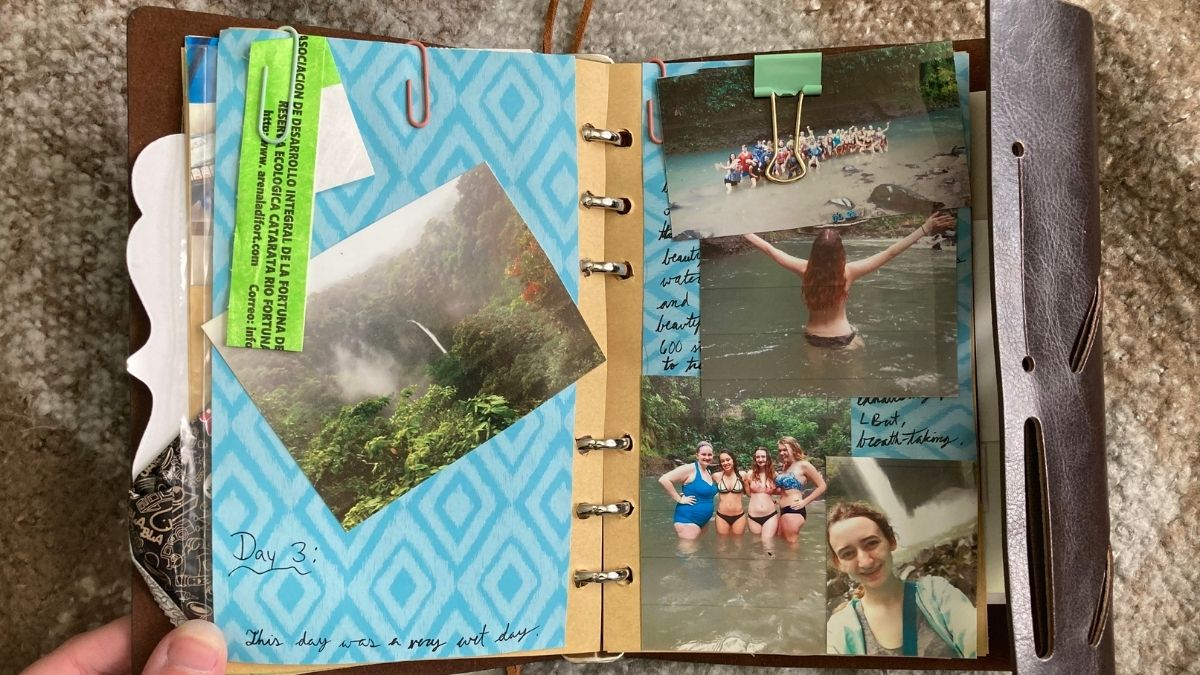
DAY 1 in Costa Rica
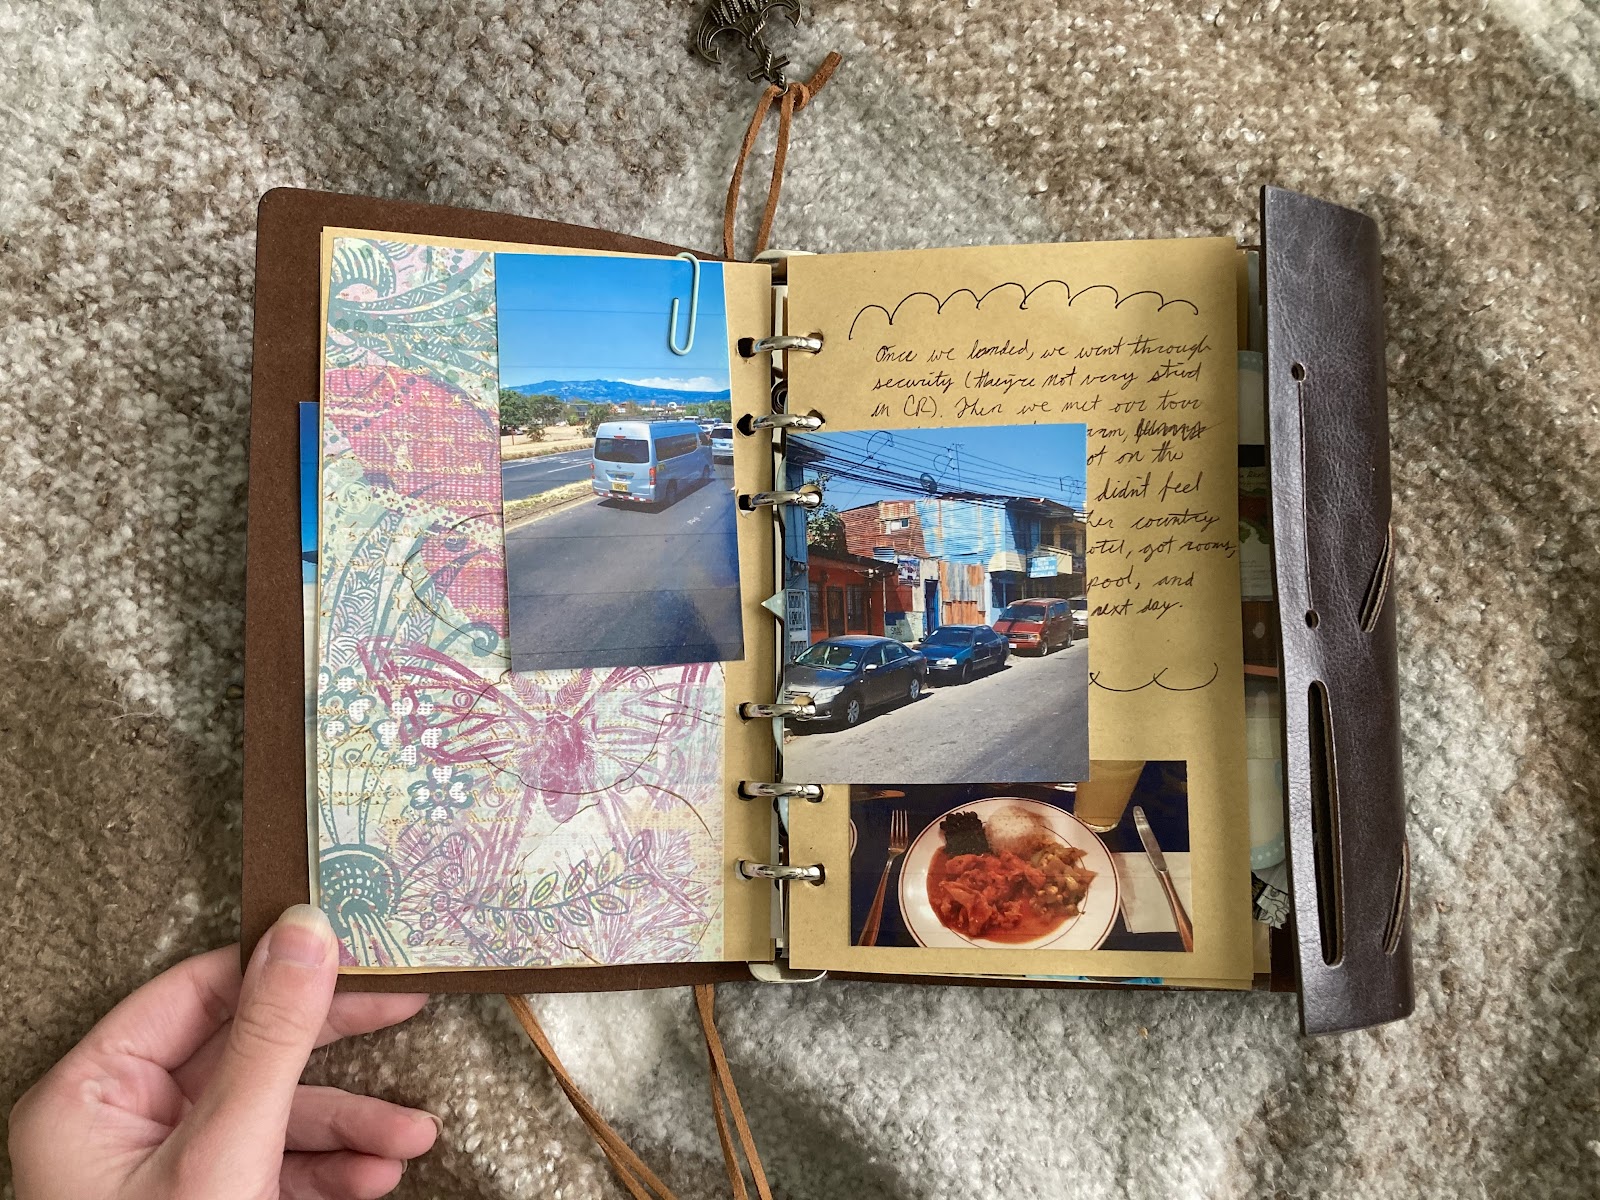
This spread captures day 1 of the Costa Rica trip. I journaled in a separate notebook about my adventures and then transferred the words over to this journal once I got home.
You don’t have to write in your travel journal when you travel. I’d recommend writing in a separate journal and then working on your travel journal once you go back home. This allows you more time for planning, printing photos, and taking your time with the overall appearance.
Scrapbook paper
You’ll see this a few times throughout this journal but I use scrapbook paper as a background to enliven the appearance of the spreads.
While I love the vintage brown paper that comes with the journal, the colors can become monotonous. Therefore, I purchased some scrapbooking paper and cut it to size to create an interesting background.
I purchase my scrapbooking paper from Michael’s since they are inexpensive and provide a wide-selection to choose from.
Here is another scrapbook paper selection I like!
Paper clips rather than glue
Another thing you’ll notice in this spread (and throughout the journal) is the use of paper clips and binder clips to hold photos and tickets in place rather than gluing them down.
While it doesn’t serve too much of a purpose in this spread, it can be quite useful. For example, when I want to place several photos on one page but don’t have the space for them, I can use a paper clip or binder clip to hold a few in place.
This particular spread holds a photo of my arrival into Costa Rica. Though, the paper clip is there for aesthetic purposes.
DAY 2 Spread
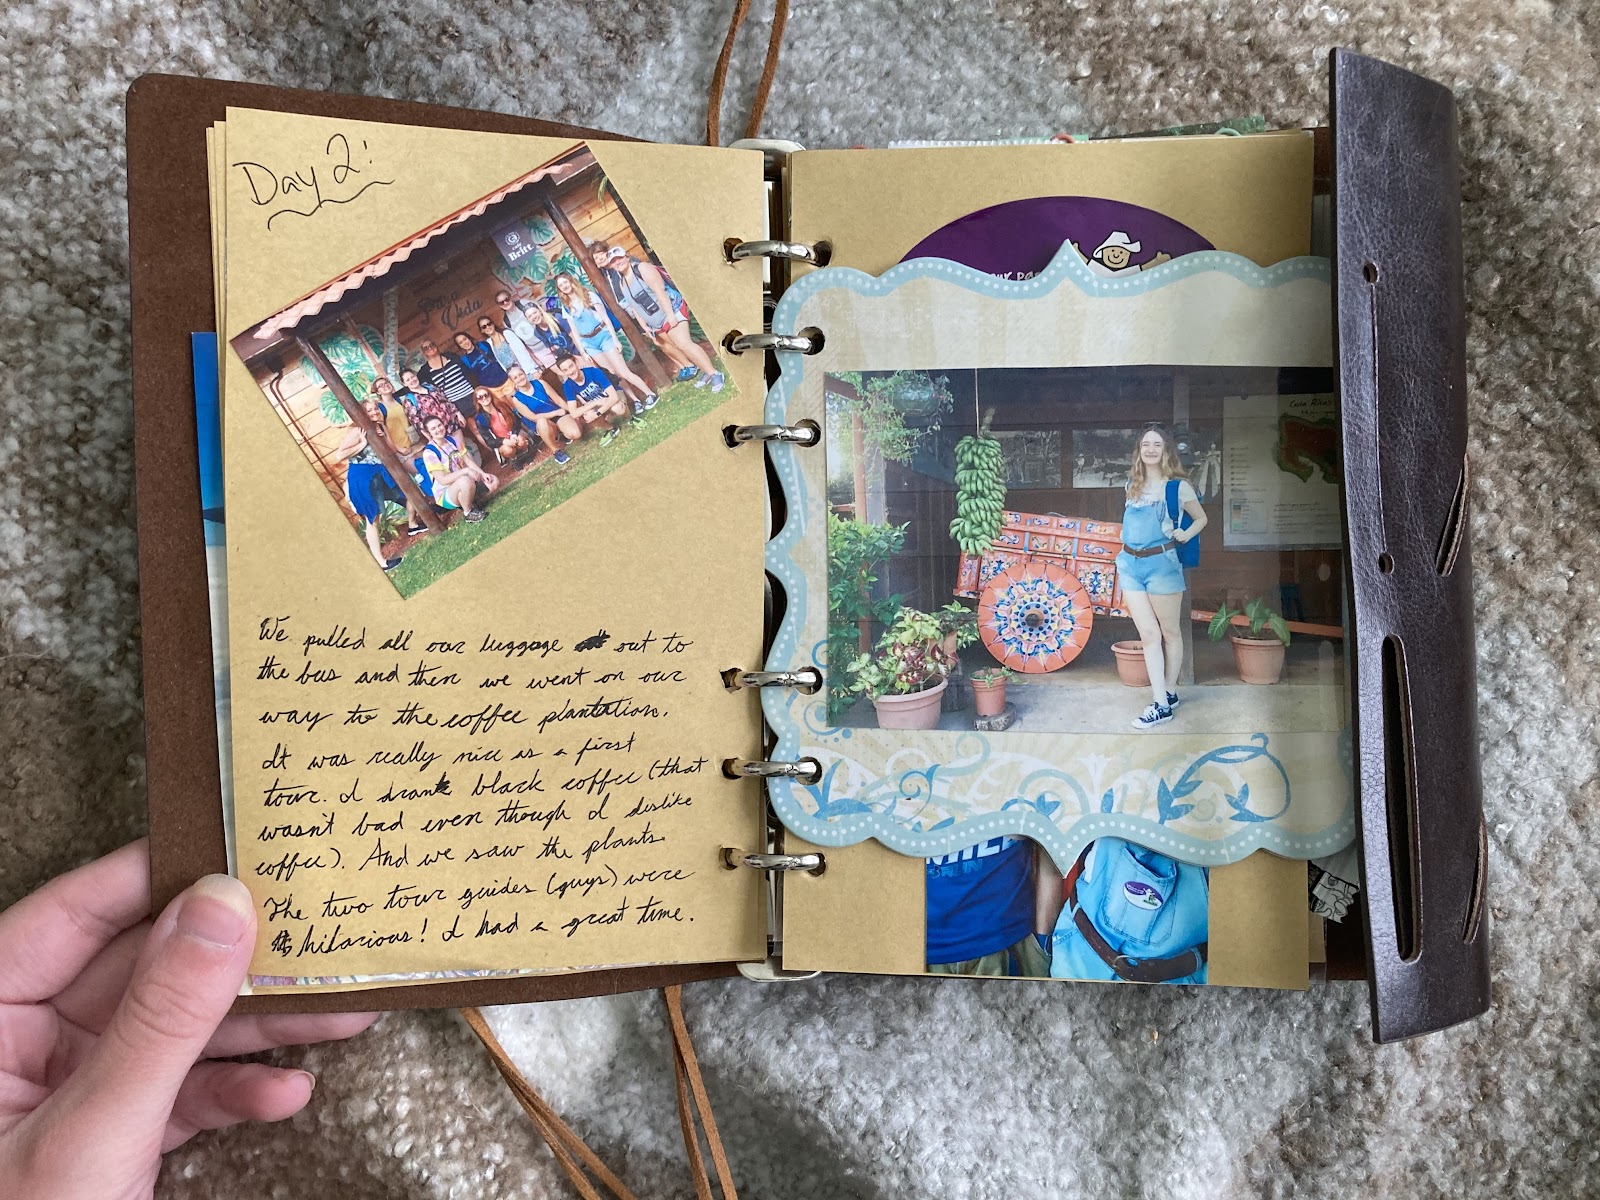
I did my best to format the journal by days spent in the country. Although, you’ll notice later on that I lose track of time and stop documenting spreads by day.
This is totally fine and I think you can title or not title any page you want.
Cardboard page insert
The thing that stands out most with this spread is the use of the cardboard insert. About a year or so before the trip, I was deeply invested in scrapbooking. My mother bought a small kit of cardboard cutouts. I still have them, but I’m not quite sure what to do with them.
At the time, I chose to use the largest insert as its own page between pages. The main reason for this was simply the fact that the journal wasn’t large enough to house the photo. But looking back, it was a clever addition on my part and makes this journal spread stand out among the rest.
Crooked photos
While most of my photos are straight up-and-down in this journal, I did experiment with crooked photos now and again. On the left page, you can see I laid my photo diagonally. This too adds interest to the spread.
Stickers
One of the things I wasn’t able to get at seventeen were specialized travel stickers for the journal. Since I didn’t have any stickers at my disposal, I used stickers and cutouts of items I got during the trip.
If you look at the top right of the page, you’ll see a purple sticker which is the same sticker I wore during the coffee tour on day two. I saved the sticker by sticking it inside the booklet that held my passport (made of a leathery material) to preserve its “stickiness.” Then transferred it to my journal once I got home.
Displaying Currency
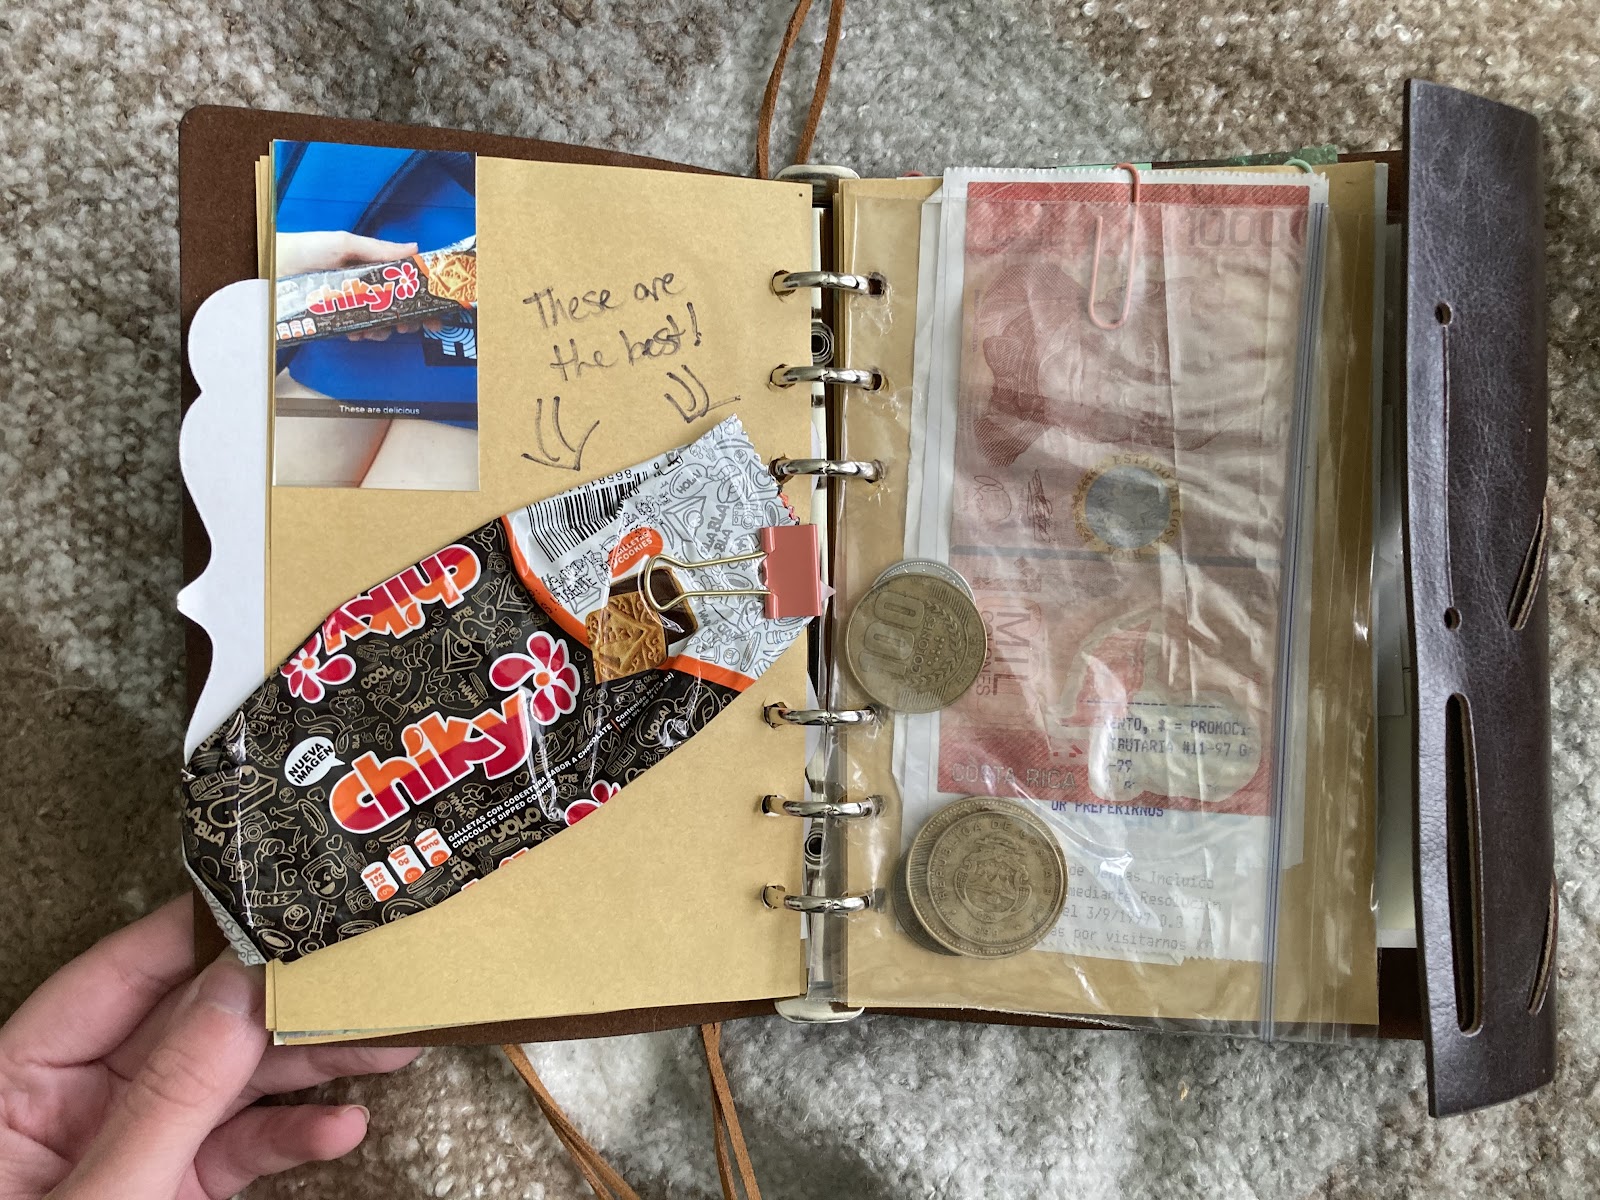
One of my favorite things about traveling to a new country is the ability to use their currency. I have rupi’s from India, Canadian coins, and here (pictured above) some Costa Rican cólons.
I used a paper clip to hold the cólon and a few receipts on the right side. The coins are held in a plastic bag that has been hole-punched and added as an insert. I would probably prefer to glue the coins to the page in the future rather than add them to a bag. Or, I might add an additional pocket to hold them. Although, this seemed to work just fine.
Saving wrappers
Another thing I did on this trip was save a few wrappers from foods I liked. Chiky cookies were my favorite snack on the trip and therefore gained their own page in my journal!
So, when I say save everything from your trip to add as a potential journal element, I really do mean save EVERYTHING!
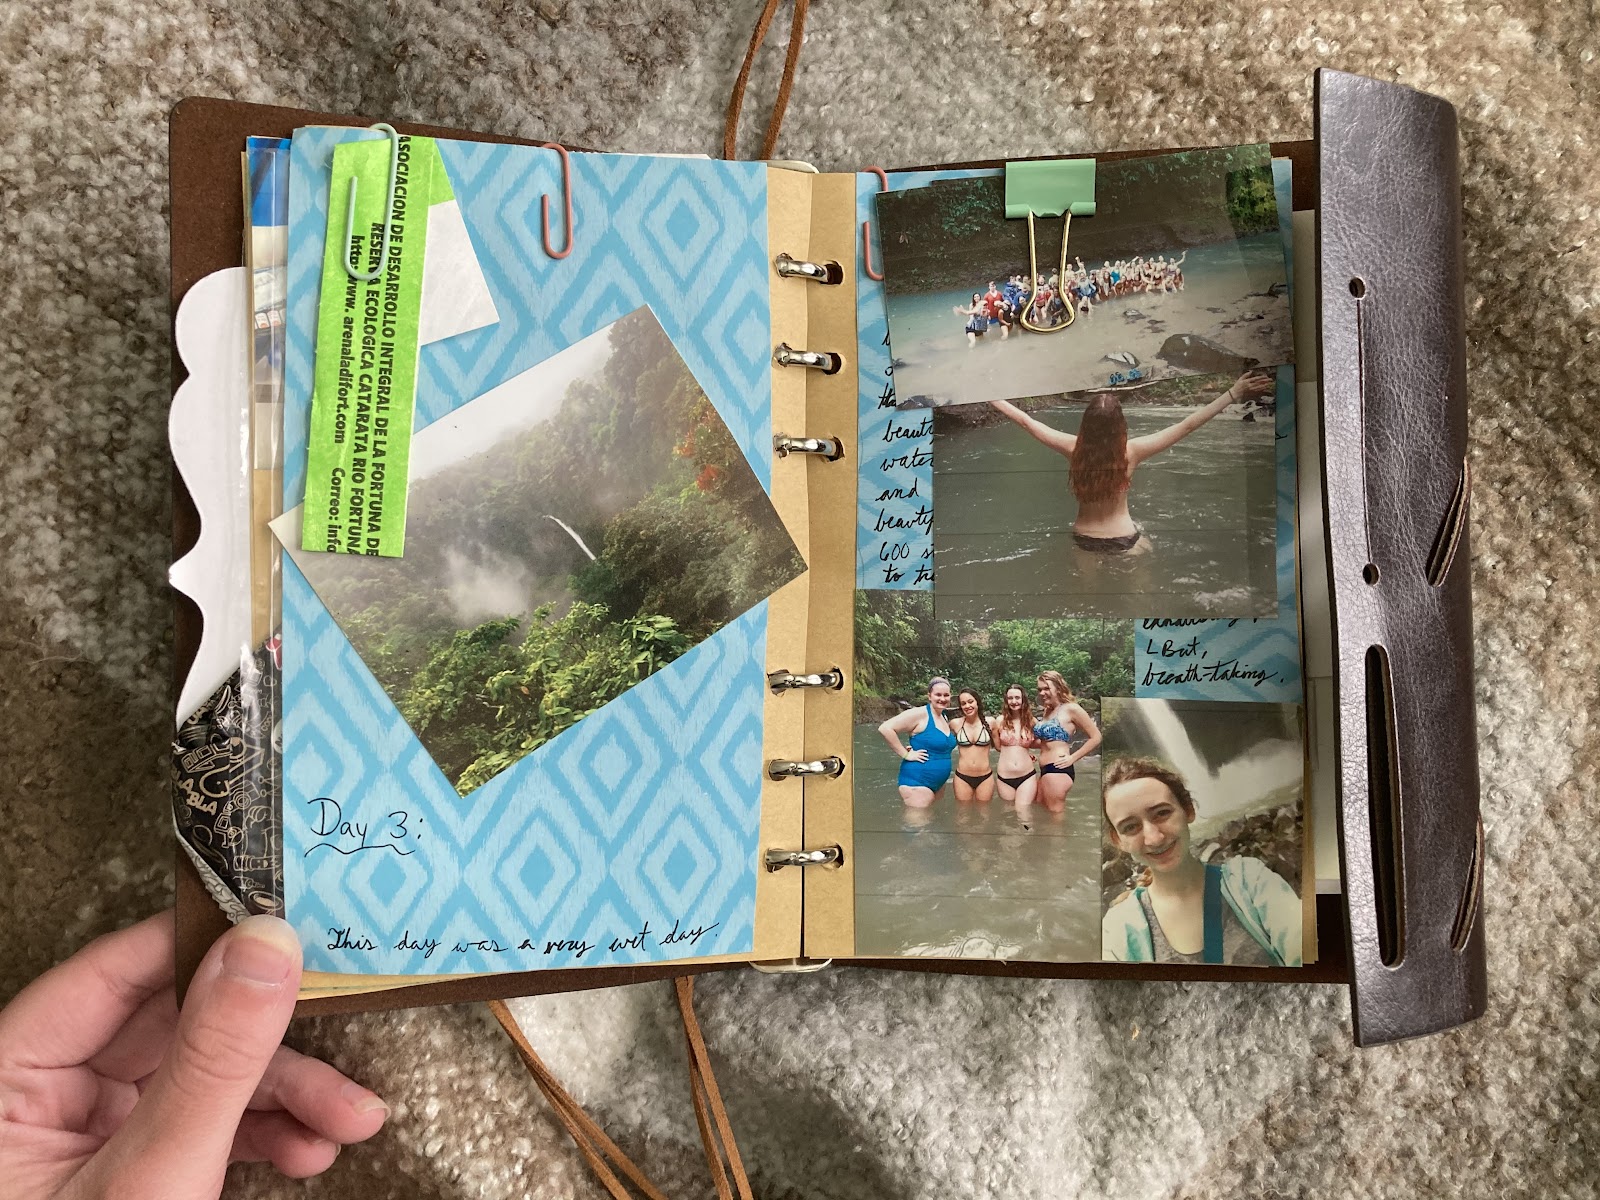
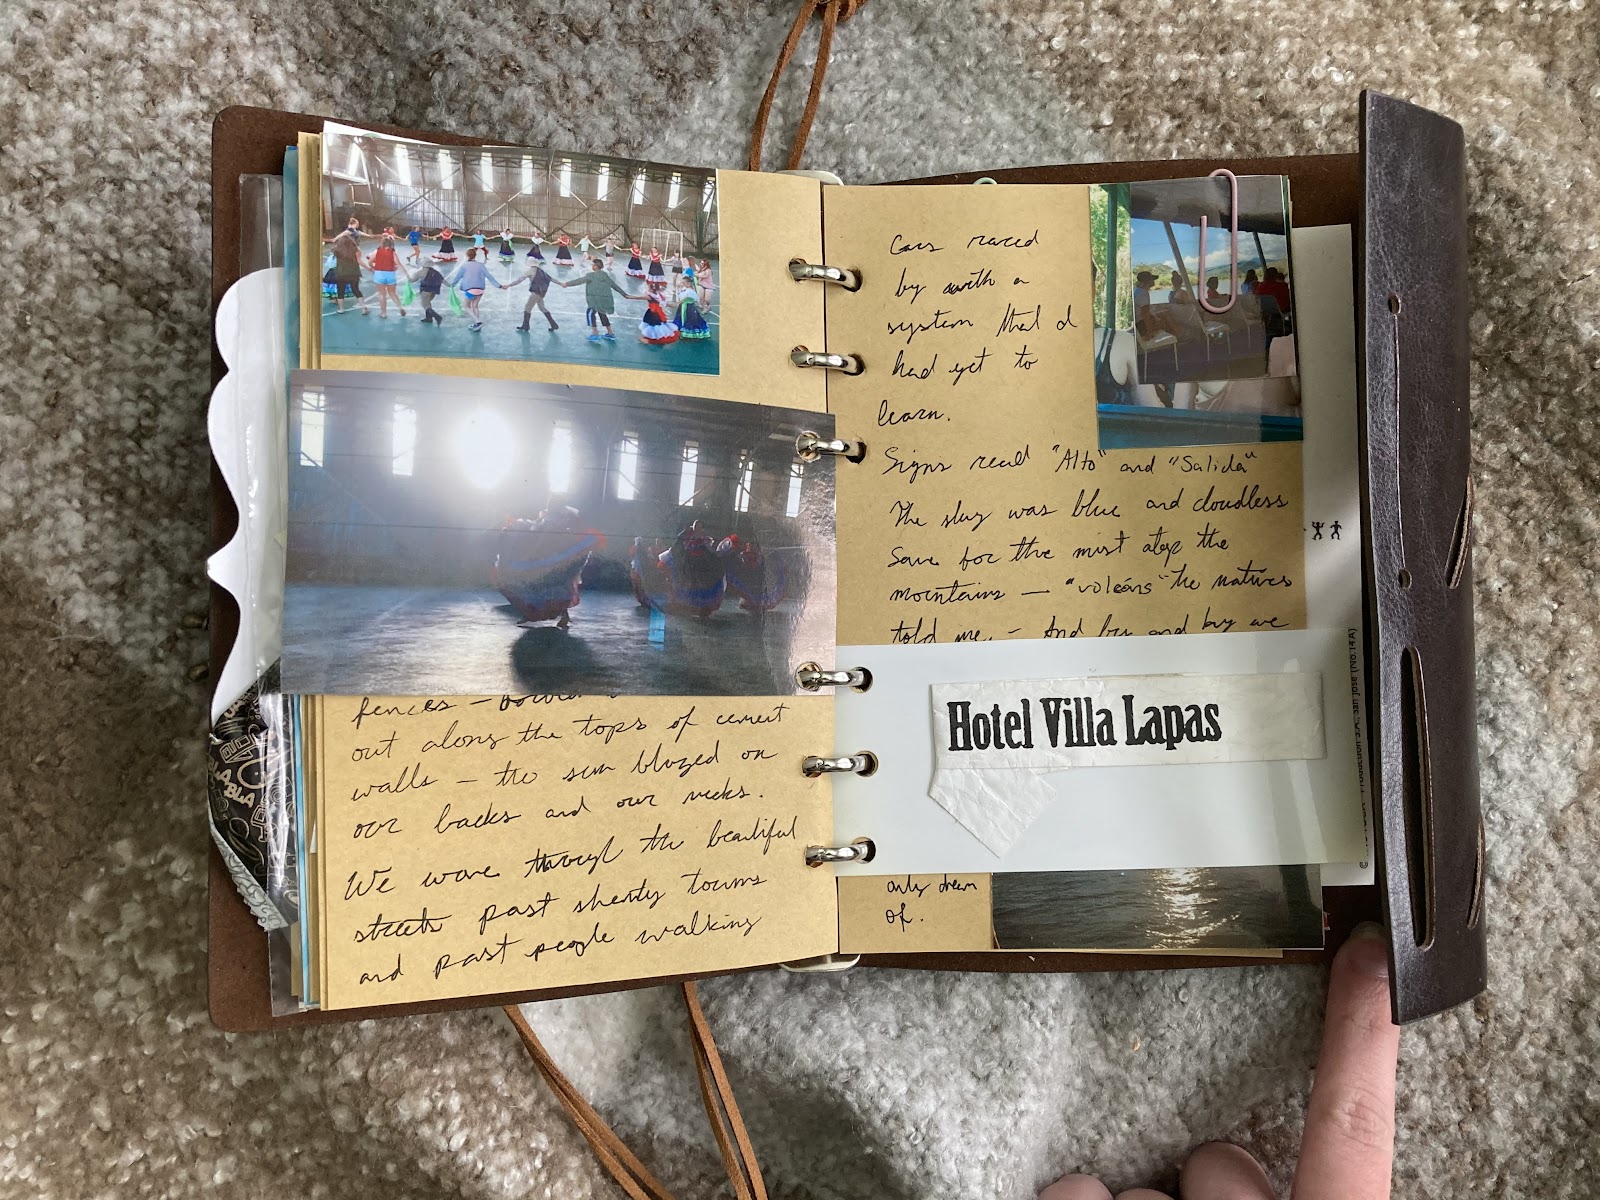
My Favorite Spread
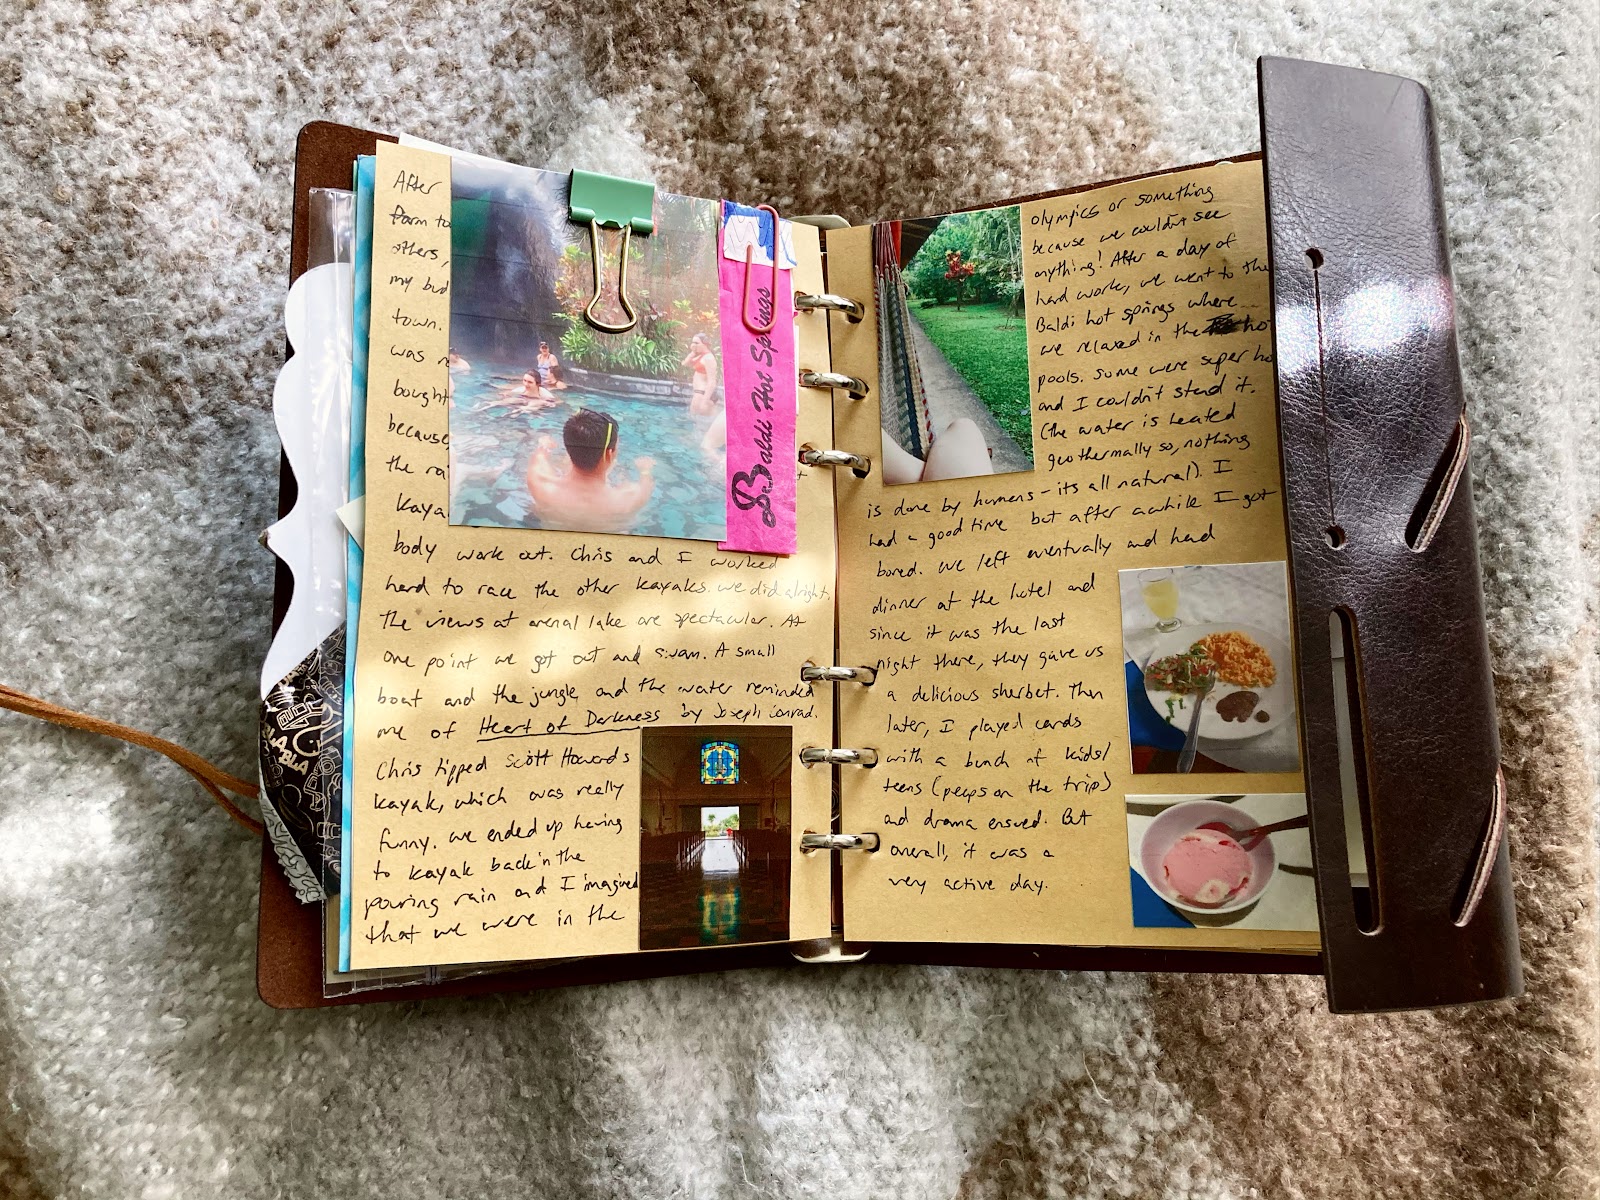
The spread above is one of my favorites and I think the reason for this is that the words and photos are displayed equally in a way that is simple yet visually appealing.
A binder clip (used to hold some photos on the back) holds up a picture on the left side. This allows you to move the picture to read the entry or leave it be to enjoy the aesthetic.
A wristband from my trip to the hot springs was saved and paper clipped to the left side as well. Normally, all tickets and wristbands I receive are saved in my travel jar. However, I chose to add these to my travel journal instead.
The photos on the right page are glued and the entry has been written around it. I put more focus on the wording here to describe my adventures and as a writer, I find this spread more valuable.l
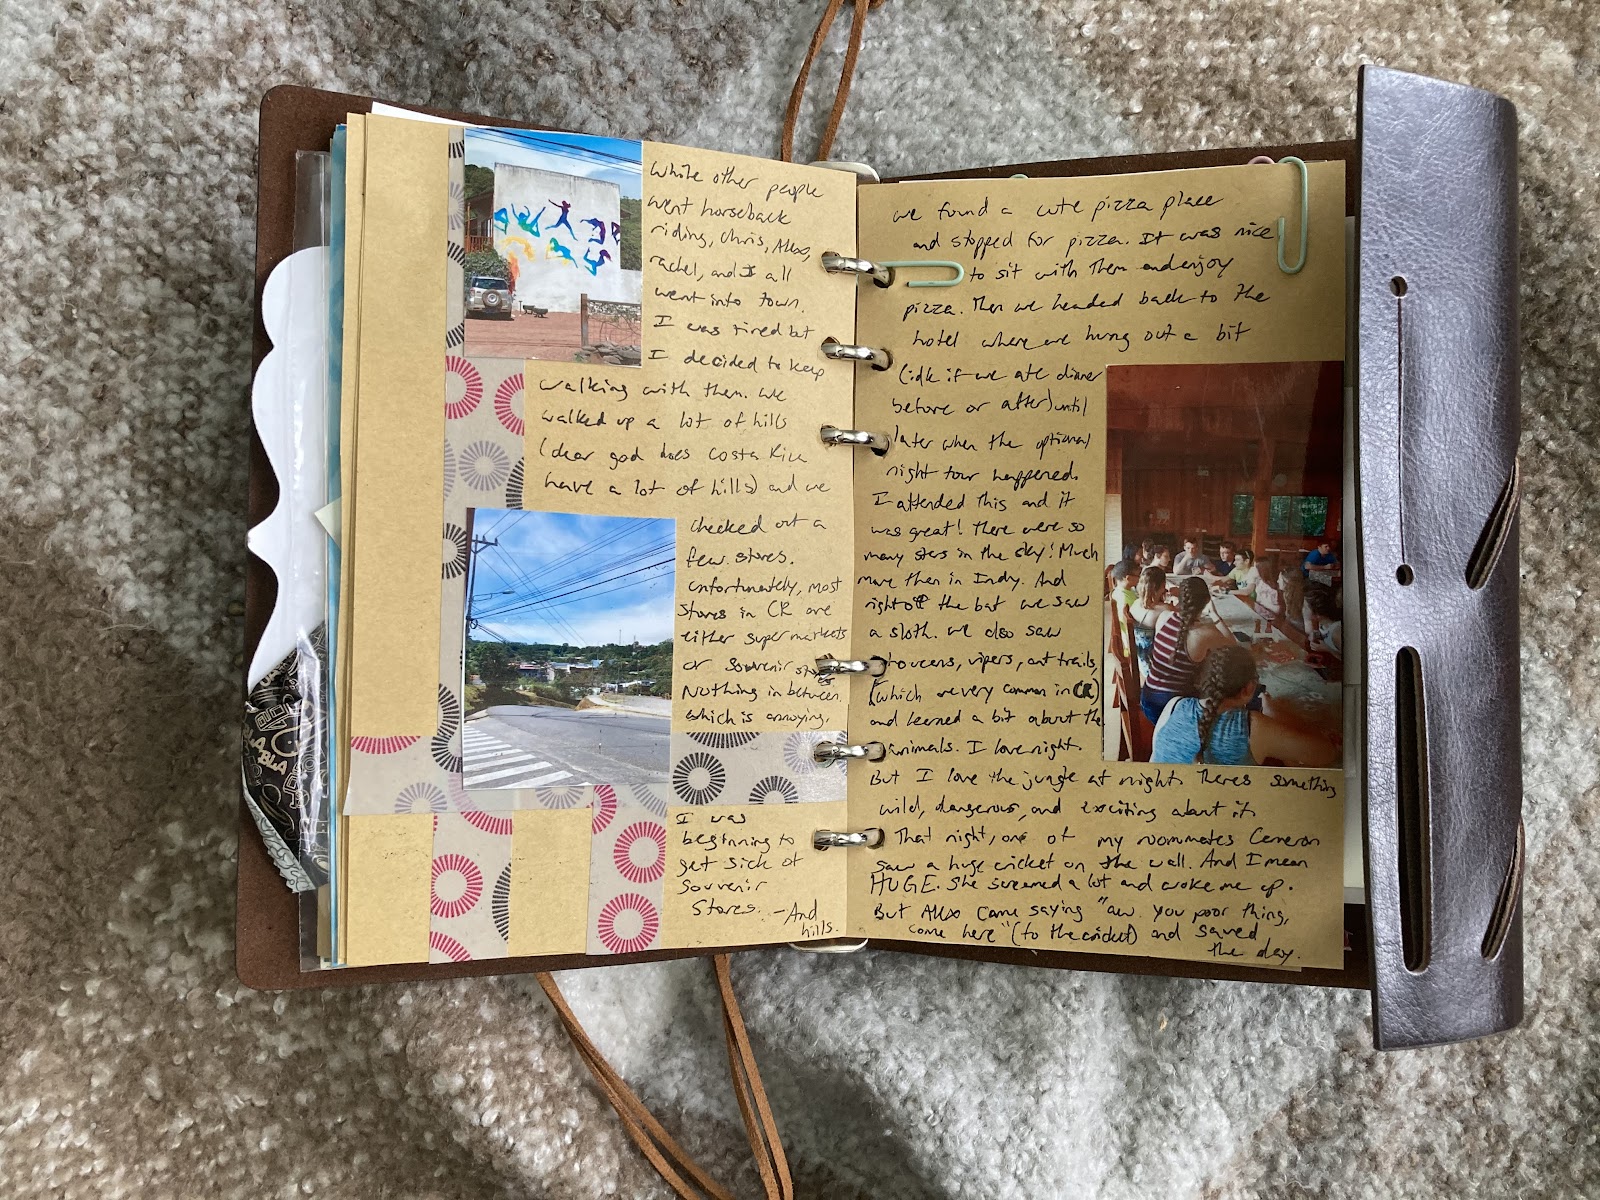
Second Favorite Spread
This spread is actually just before my favorite spread (I think). The binder clip holding up three to four photos on the left side is also holding up the hot springs photo on the spread above.
What I like about this is that, again, I can remove the photos to read the entry, thus saving space for more photography and entries by not gluing them down.
There is a scrapbook paper background, crooked photo, and a paper-clipped wristband on the other side to add visual interest.
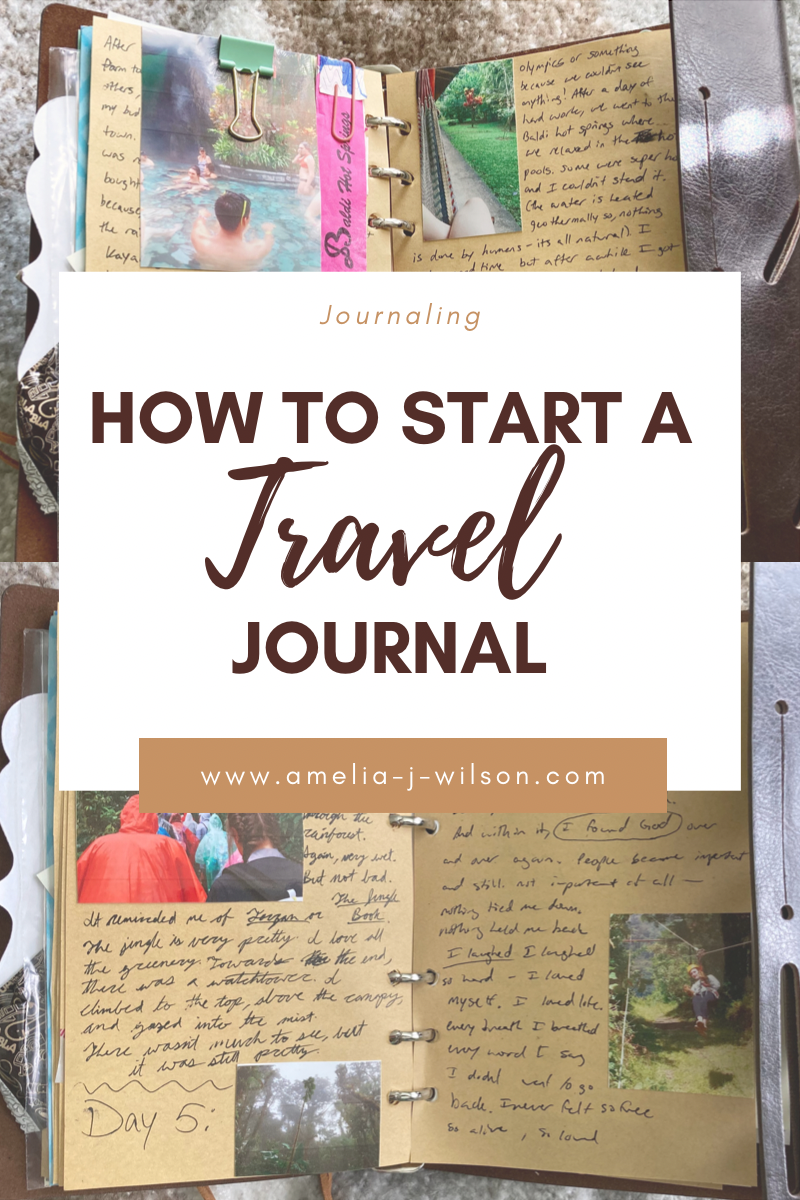
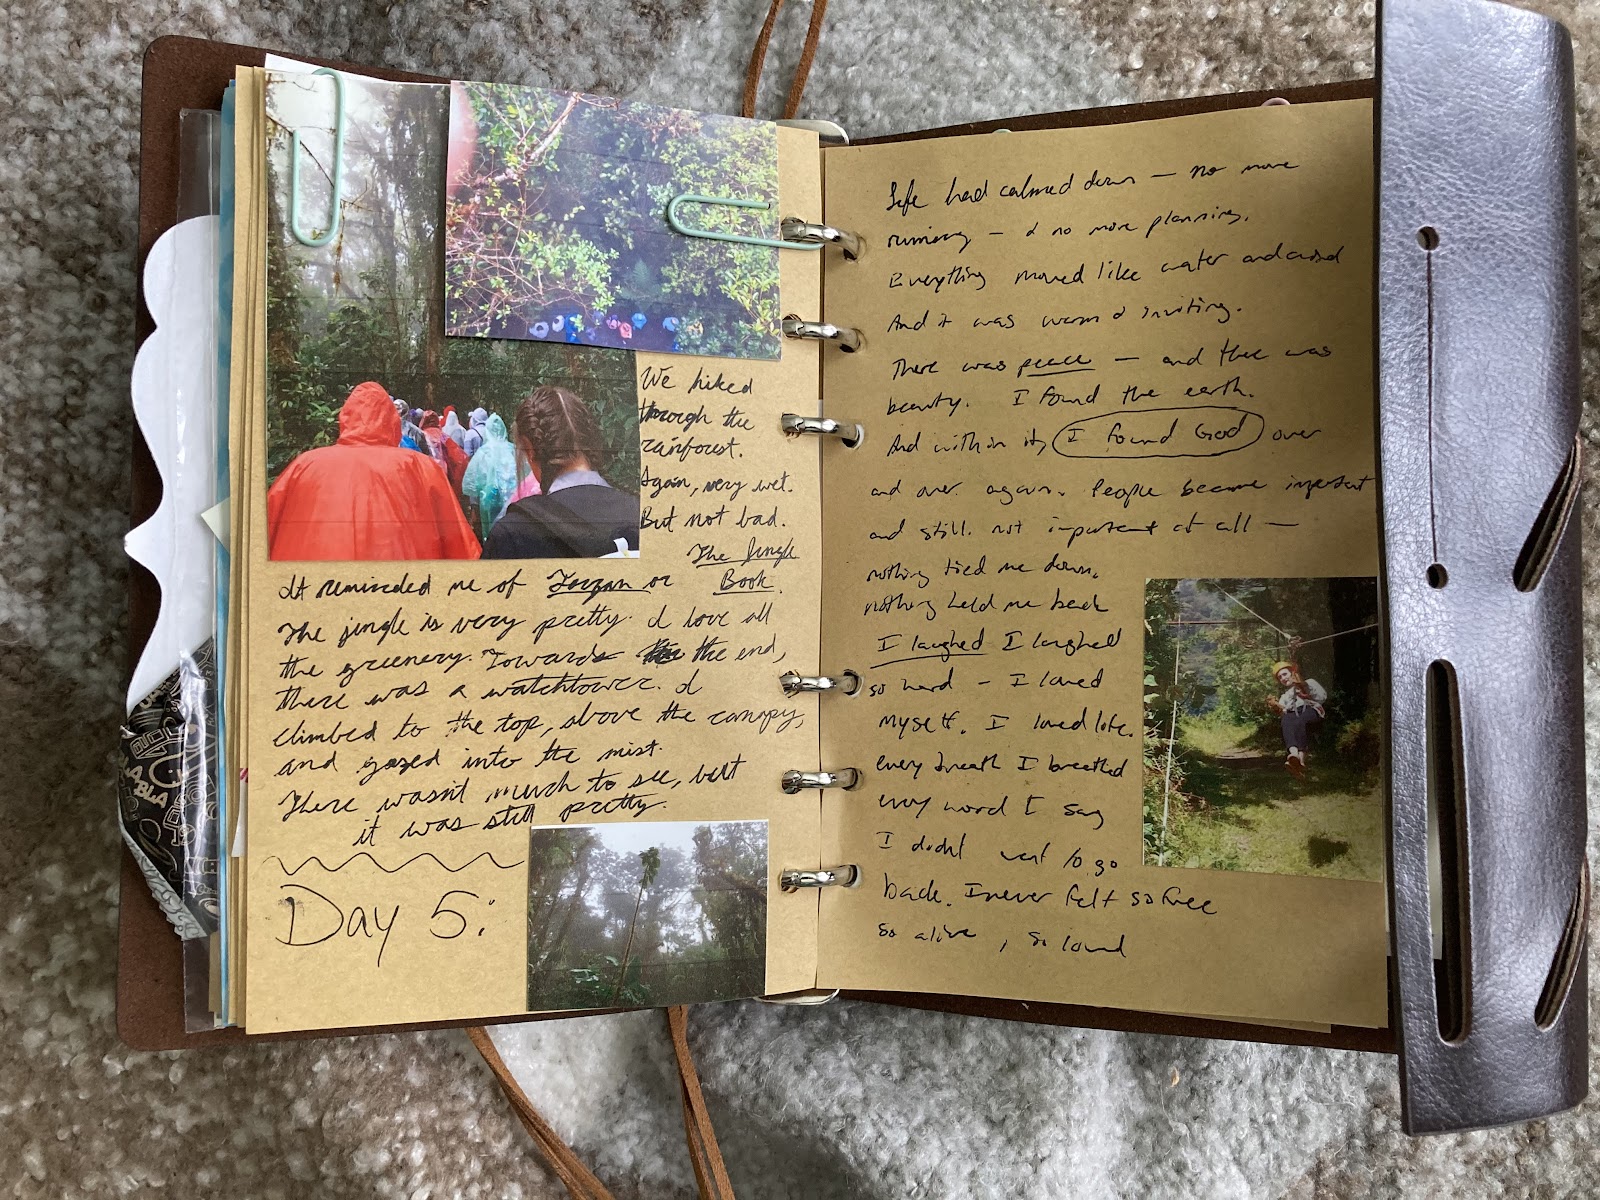
Journaling in your Travel Journal
I really love the written portions of my journal. Some entries are diaries of things I documented about the trip or moments I wrote about while I was visiting. Other pages are filled with poetry that I wrote, inspired by the trip.
Most of my writing (perhaps all of it) is written from top to bottom on the page. I like this format but I think you could also experiment with writing sideways or diagonally as well.
Crisscrossed washi tape
As you can see on the left side, the washi tape has been placed in a crisscrossed manner. Photos have then been layered on top. This is a great way to add more depth to your journal.
I would also advocate that if you’re making a travel journal, you try to layer stickers, scrapbook paper, washi tapes, and photos to add more depth.
How to Diversify your Spreads
I did my best to change up the way the photos are laid out and to increase the space given for journal entries and poetry.
Play around with the textures, patterns, and layouts of your spread so that they don’t all look alike.
Creating unique flaps
One thing that stands out in this journal is the continued use of additional flaps and pages. I hole-punched a few photos and tickets to create additional flaps.
This saves space of course, but also makes the journal feel more interactive and lively. I like turning the little flaps between the spreads as if I’m playing with a pop-up book.
I encourage you to experiment with this as well. If you don’t have a ringed journal or hole-punch, try using washi tape to hold down the sides to allow you to flip up small photos or tickets.
Saving tickets
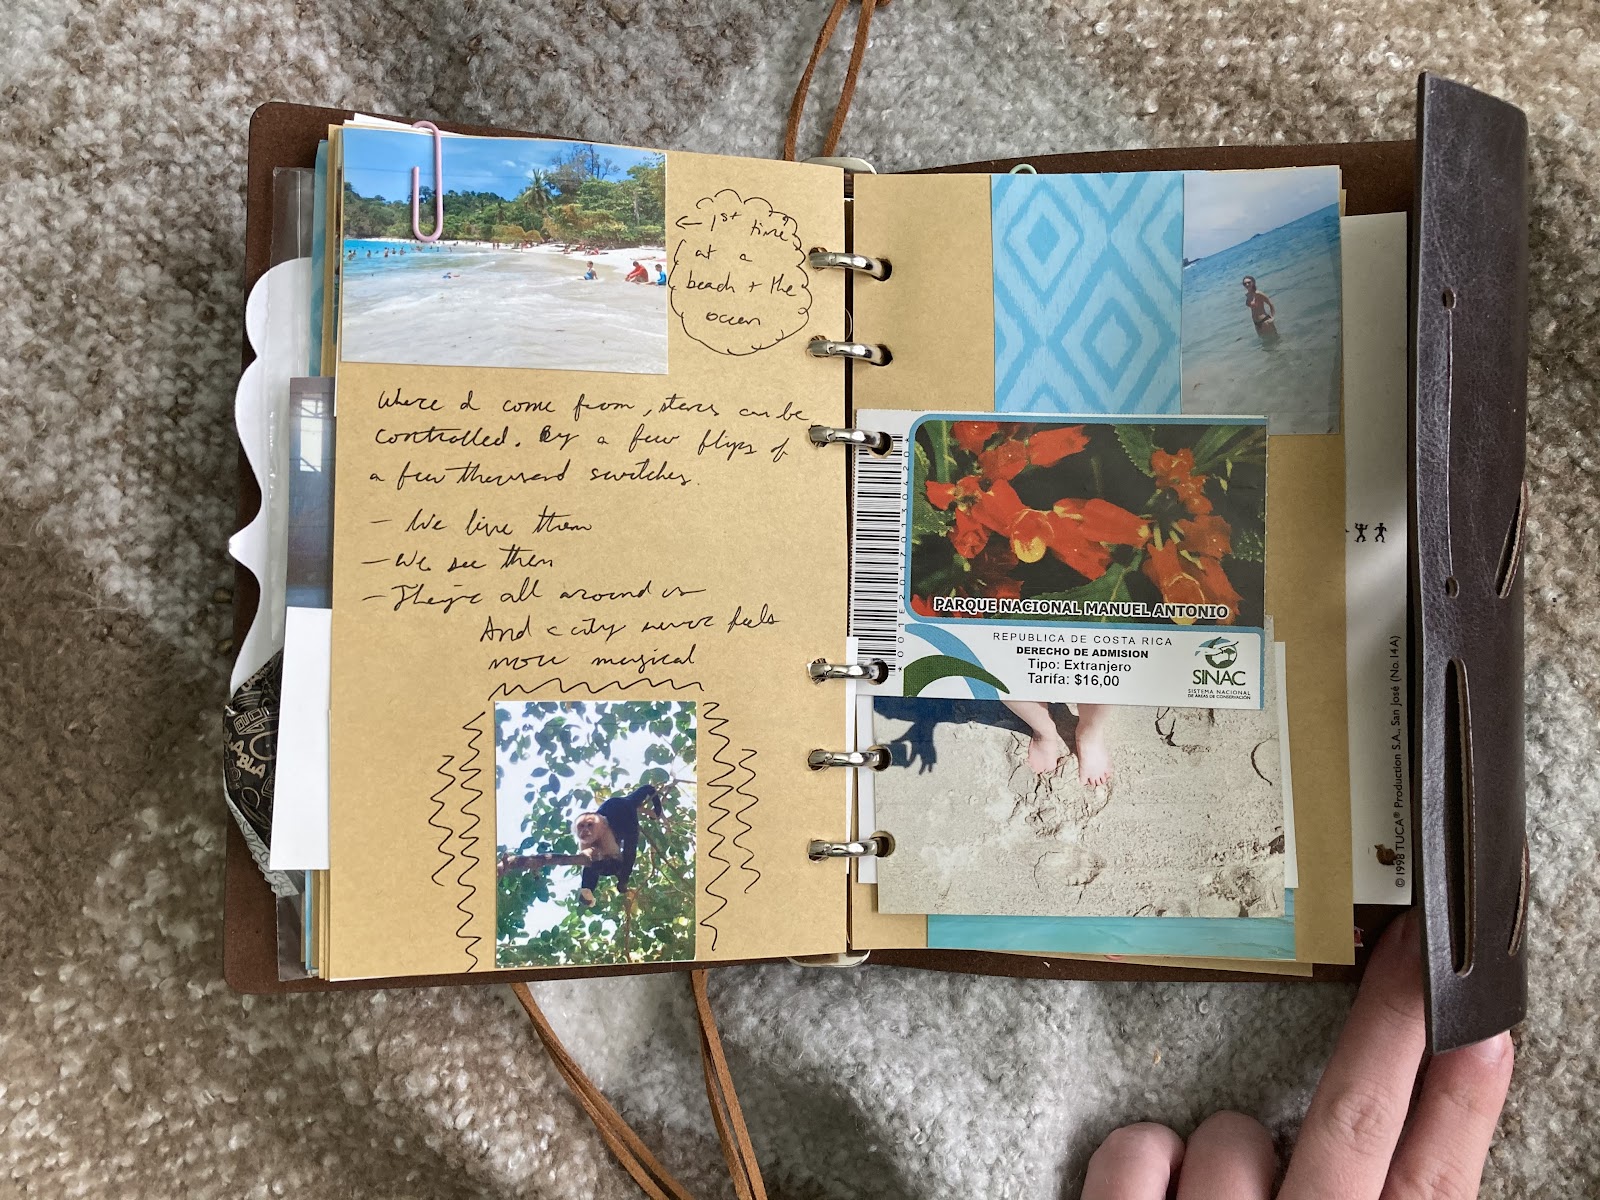
As I mentioned before, I did my best to save all of my tickets. One of the tickets I had was an entry tag for a National park/beach. I saved this ticket and hole-punched it to create a flap between my beach spread pages.
Using postcards

Postcards are another amazing way to create more interest with color and written words. I bought one postcard in Costa Rica and chose to glue it to my journal to create an entire page of photo.
You can do the same, or you can make your postcard a flap with some additional writing on the back.
Another idea that I think would be exciting is to get a letter and glue the letter to the journal and insert the postcard inside. This would make it more interactive as well as artistic.
Final Thoughts
While this isn’t every spread in the journal (watch my YouTube video to see the entire flip-through) these photos do showcase some of the most interesting aspects of my travel journal.
Moving forward, I think I’d like to experiment with more colors, layering, pop-ups, pockets, and stickers in the future.
If you like this post, check out some similar posts of mine below!
Feel free to leave a comment below and let me know what you do with your travel journal!
You can also email me with questions or concerns you may have at info.amelia.wilson@gmail.com
My new book, Witch in the Water, is available on Amazon!
Also, check out my poetry book, The Lights are on but Nobody’s Home, available now on amazon for $6.99 in paperback form!
Disclaimer: All of the views and opinions in this post are solely my own and are not sponsored. This post includes affiliate links, meaning I earn a commission through links at no cost to you.
Thanks again